
How to Post Videos to Your Course
- Feb 18, 2021
- 3 min read
Updated: Aug 25, 2021
Share engaging short videos with your course home feed.

There is a reason why Instagram saw an 80% spike in video content over the past 5 years and why TikTok and SnapChat have been dominating social media and student populations for the past two years. Video > Text.
Uvii's Video option can dynamically explain concepts, share quick explainer videos and more with a simple point and shoot functionality directly in the mobile app. These videos can be:
Explainers: a quick video explaining what notes you had on the board during course or simply reviewing a common question students had that requires visuals can help students learn in real-time.
Video resources: Youtube, Vimeo, course recordings and other platforms are great resources for students to learn from. Uploading videos or short sections of longer lectures is a perfect way to directly and quickly support student learning. With Uvii's caption feature you can explain exactly what this video is for.
Pre-course: Uploading a video before course begins provides students with a connection with their teacher that they are lacking not being in person. Before course, share a quick introduction video or provide a brief synopsis of what topics will be covered to provide a more human approach.
Asynchronous or Synchronous course: During remote course on in between sessions, video interaction can engage students in new ways. If you are posing a question or need to show notes/explanations quickly, it acts as an on demand tutor resource.
Post-course: Videos are great resources. These videos don't have to just be videos of your notes, but they can be any recorded content.
Follow the steps below to create and share a video to your Uvii course:
Video: Create and Post a Video
Create Your Video
Open the Uvii app and click “+ Create” button located in the middle of the menu at the bottom of your screen. Click the “video” button that pops up.
Once on the video option, you'll be met with a screen below. Click the red record button to record yourself or flip the camera to record a surrounding area and talk in the background

After you finish your video, you can listen to it and rerecord by clicking the “x” in the top left or post it click the “>” in the top right.

Add Your Video Caption

Add a post caption to explain what the video is, add any additional notes, or request students respond to the video.
Add Tags to Your Video
Tags are how posts can be searched for on Uvii. Just like on posts you can add tags to videos as well.
Something as broad as a general feedback question may not need a tag or it requires a simple "Explainer' tag.
Hide Responses and Proctoring Your post
The ability to hide responses allows instructors to test comprehension or collect unbiased results. Checking the box to the left of the "Hide Response" text removes the ability for students to see others answers. This is available for all post types and allows instructors to proctor responses.
Post to Course
Once you've completed your post, added necessary tags and decided to hide or show responses you are now ready to post your question.
To post to a course, select "Post to course". The post will be shared to all instructors and students registered. Students logged into their profile will receive a push notification on their home screen announcing the post has been shared and prompting a response.
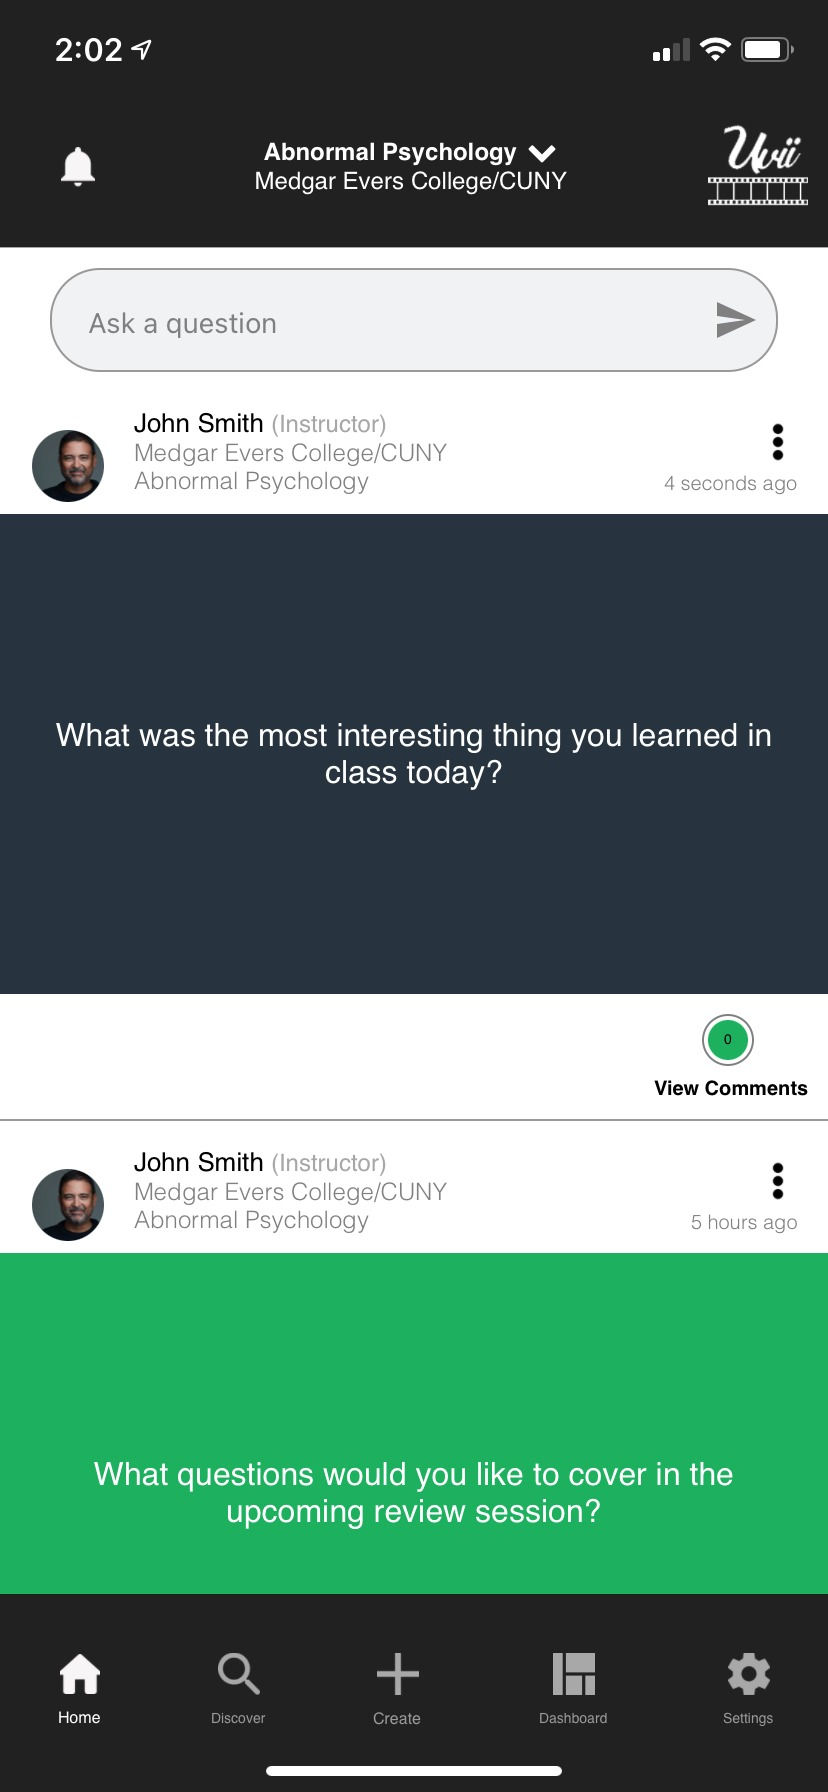
You can now see your question posted on your home feed and your students can respond.
Post as a String

Some posts aren't for all students, which is where Uvii's String feature comes in. Think of posting as a string like a direct message (DM) for a specific student or group of students. These will appear on the home feed for only those students selected.
Manage Posts
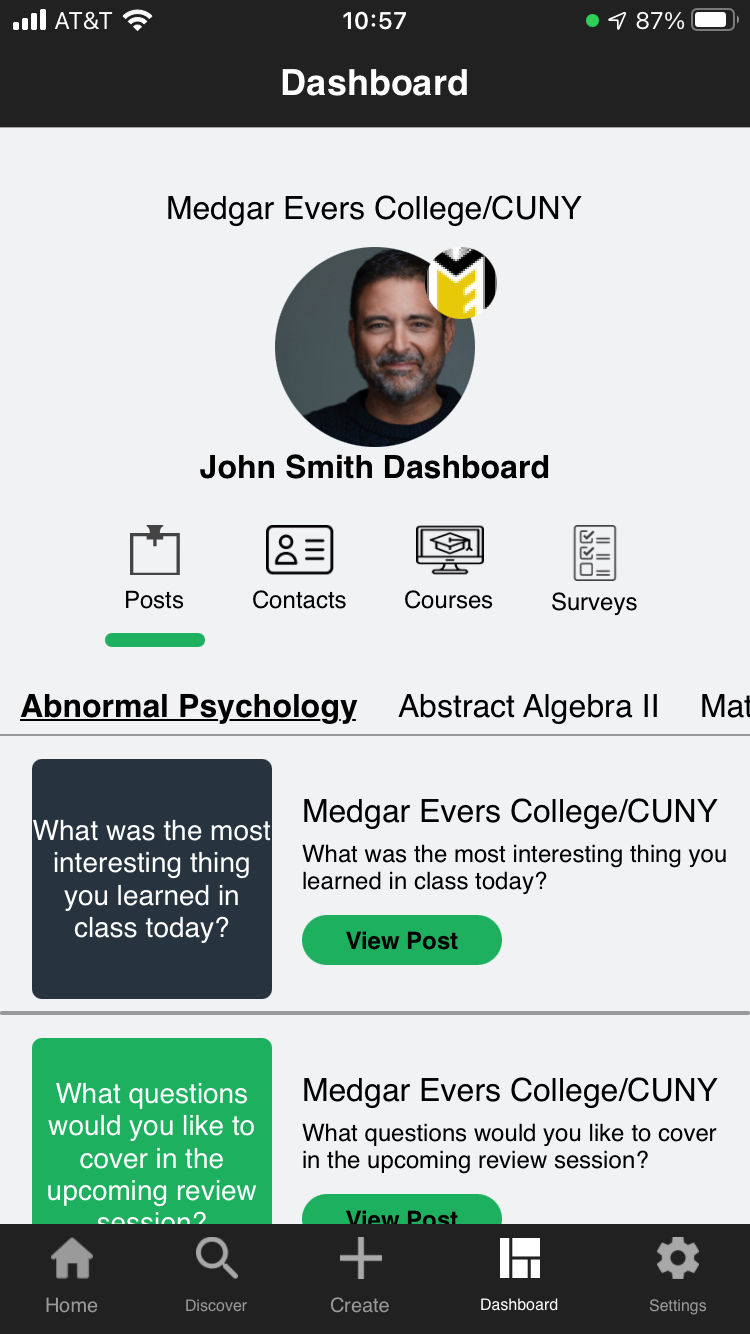
If you want to quickly view posts you have shared, navigate to the dashboard feed on the bottom of your screen and select posts. You'll be able to see all posts you have created for each course.


Comments